With the aroma of Thanksgiving just around the corner, it’s the perfect time to prepare your kitchen for the feast and the inevitable delightful leftovers. We all know that the unsung hero of the post-Thanksgiving celebration is the fridge! To make sure it’s ready to handle the abundance of deliciousness, we’ve put together an in-depth guide to help you clean, organize, and maximize space in your refrigerator.
Step 1: Schedule the Cleaning: Choose a day to clean out your fridge a few days before Thanksgiving. This ensures you have a clean and organized space to store leftovers.
Step 2: Gather Supplies: Collect the necessary cleaning supplies:
- Warm, soapy water
- White vinegar
- Baking soda
- Microfiber cloths
- Soft brush or toothbrush
- Dish soap
- Towels for drying
- Cooler or insulated bags for temporary storage of items
Step 3: Empty the Fridge: Begin by removing all items from the refrigerator. Place them in a cooler or insulated bags with ice packs to keep perishables at a safe temperature while you clean.
Step 4: Sort and Discard: As you take items out, check for freshness and expiration dates. Discard any expired or questionable items. This is a great time to evaluate what you have and make room for Thanksgiving ingredients.
Step 5: Remove Shelves and Drawers: Take out removable shelves and drawers. Wash them with warm, soapy water. Dry them thoroughly before placing them back in the fridge.
Step 6: Prepare a Cleaning Solution: Mix a solution of equal parts water and white vinegar. This natural solution effectively cleans and disinfects without leaving chemical residues.
Step 7: Wipe Down Interior Surfaces: Dip a microfiber cloth in the cleaning solution and wipe down all interior surfaces of the fridge, including walls, shelves, and drawers. Pay attention to areas with spills or sticky residue.
Step 8: Clean Seals and Edges: Use the soft brush or toothbrush to clean the door seals and edges where crumbs and debris may accumulate. Ensure the seals are free from mold or mildew.
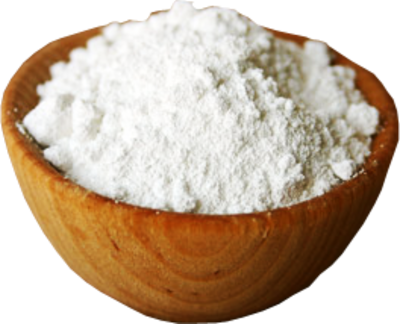
Step 9: Address Lingering Odors: If there are lingering odors, place an open box of baking soda on one of the shelves to absorb unwanted smells.
Step 10: Clean Exterior Surfaces: Wipe down the exterior of the fridge with a cloth dampened in the cleaning solution. Pay attention to handles, buttons, and any exposed coils at the back.
Step 11: Check and Replace Water Filters (if applicable): If your fridge has a water dispenser or ice maker with a filter, check if it needs replacement according to the manufacturer’s recommendations.
Step 12: Restock the Fridge: Organize your cleaned and sorted food items neatly before placing them back in the fridge. Group similar items together to make it easier to find things.
Step 13: Create Space for Leftovers: Before Thanksgiving, create dedicated spaces in the fridge for storing leftovers. Make sure you have containers and storage solutions ready.
Step 14: Maintain Regularly: Make a habit of regularly checking and cleaning your fridge. Aim to do a deep clean at least once a month and spot clean spills as they occur.
By following these steps, you’ll ensure your fridge is clean and well-organized, providing the perfect space for storing Thanksgiving leftovers. This proactive approach not only sets the stage for a seamless Thanksgiving meal but also contributes to a healthier and more efficient kitchen environment.


